


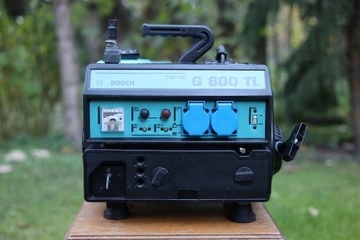
Replacing the starter in the generator - guide
Replacing the starter in a generator is a task that can be done independently if you have the right tools and basic technical knowledge. Here's a step-by-step guide on how to do it:
Tools and Materials
- New starter
- Set of wrenches (including socket wrenches)
- Screwdriver
- Work gloves
Step 1: Safety First Ensure that the generator is turned off and disconnected from any power sources. Allow the generator to cool down if it has been in use.
Step 2: Accessing the Starter Locate the starter. It is usually positioned on the side or top of the engine. Remove any covers or components blocking access to the starter.
Step 3: Disconnecting the Old Starter Disconnect the electrical wires from the old starter. Do this carefully to avoid damaging the wires. Use the appropriate wrenches to unscrew the bolts securing the starter to the engine.
Step 4: Removing the Old Starter Gently remove the old starter from the generator. Check for any damages that might affect the new starter's operation.
Step 5: Installing the New Starter Place the new starter in the position of the old one. Secure it using the bolts you previously removed. Ensure it is firmly attached but don't tighten too much to avoid damaging the casing.
Step 6: Connecting the Electrical Wires Connect the electrical wires to the new starter as per the markings. Ensure all connections are strong and secure.
Step 7: Testing After everything is mounted, turn on the generator to test the new starter. Check if the starter operates smoothly and without any concerning noises.
Step 8: Finishing Up If everything works correctly, reinstall any covers. Keep the generator clean to ensure the long life of the new starter.
Remember, safety is most important. If you are not confident in your skills, it's better to delegate this task to a professional mechanic.